
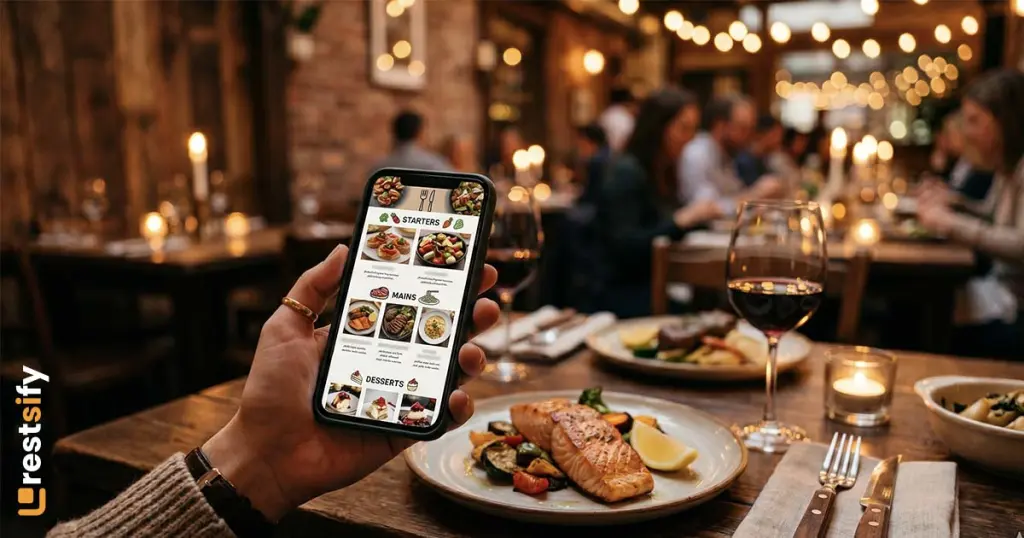
How to Create a Digital Menu for Your Restaurant (Step-by-Step Guide)
Still printing paper menus? Every time you change a price or add a new dish, it costs money and time. A digital menu solves this: guests scan a QR code, the menu opens instantly on their phone — no app, no waiting, no reprints. This guide walks you through exactly how to create a digital menu for your restaurant, from setup to printing your first QR code.
What Is a Digital Restaurant Menu?
A digital menu is an online version of your menu that guests access by scanning a QR code with their smartphone camera. No app needed — it opens directly in the browser, like any website.
Unlike a PDF menu (which is just a file), a proper digital menu is a live page you can update at any time. Change a price, mark a dish as unavailable, or add a new section — the change appears instantly for everyone who scans.
Why Restaurants Are Switching to Digital Menus
The numbers are hard to ignore. Independent restaurants spend an average of $3,847 per year on menu printing alone. A digital menu replaces that with a small monthly subscription — and typically pays for itself within 3 to 6 months.
Beyond cost, there are practical benefits:
- Update in seconds. Changed a price or ran out of a dish? Fix it on your phone without reprinting anything.
- Works in every language. If your restaurant is in a tourist area, guests from other countries can read your menu in their own language automatically.
- No size limit. Paper menus get cluttered. A digital menu can have 500 items, photos, descriptions, allergen info, and multiple categories — all in a clean, scrollable layout.
- Built-in analytics. See how many people opened your menu today, which dishes get the most views, which languages your guests use.
- Better first impression. A well-designed digital menu with food photos looks far more professional than a laminated sheet.
Step 1: Choose the Right Platform
Not all digital menu platforms are the same. Here's what to look for:
Custom domain — Your menu should live on your own branded address, like cafe.qrm.es or yourbrand.bon.menu, not a generic link with someone else's name.
Multilingual support — If you serve international guests, automatic translation is essential. Basic platforms offer Google Translate integration, which often butchers food names. Look for platforms with AI trained specifically on culinary vocabulary.
Mobile-first templates — The menu must look great on a phone screen. Most of your guests will view it on a 6-inch display.
No ads — Some free platforms put banner ads on your menu. This looks unprofessional and sends guests to competitors.
Easy editing — You should be able to update a price or add a dish in under 30 seconds, from your phone.
Restsify covers all of these: custom short domains from 20+ zones, AI translation into 25+ languages trained on culinary context, multiple mobile-ready templates, zero ads, and a dashboard built for non-technical users.
Step 2: Set Up Your Menu Structure
Before uploading anything, sketch out your menu structure on paper or in a note:
- Category groups (optional) — broad sections like Food / Drinks / Desserts
- Categories — Starters, Pasta, Pizza, Cocktails, Coffee, etc.
- Items — each dish with name, description, price, and photo
Good practice:
- Keep category names short (one or two words)
- Write dish descriptions in a way that makes people hungry, not just a list of ingredients
- Add allergen info where relevant — guests with dietary restrictions will thank you
Once you have the structure clear, creating it in any platform takes 20–30 minutes.
Step 3: Upload Photos (This Matters More Than You Think)
Menus with food photos generate significantly more orders than text-only menus. If you can, photograph your most popular dishes properly — good natural light, clean background, overhead or 45-degree angle shot.
Can't do professional photography? A few tips:
- Use your phone in portrait mode
- Shoot near a window during the day
- Avoid flash — it makes food look flat
- A white plate on a wooden table already looks good
Restsify's built-in photo editor lets you crop, adjust brightness and apply filters directly in the dashboard — no Photoshop needed. Each uploaded image is automatically converted to WebP format and served through a global CDN so your menu loads fast everywhere.
Step 4: Enable Automatic Translation
If your restaurant is in a tourist destination — a coastal town, a city centre, an airport area — your guests speak dozens of languages. Most of them won't order as confidently from a menu they can't fully read.
Modern platforms like Restsify automatically detect the guest's phone language and show the menu in that language immediately. No button to press, no dropdown to find — it just works.
The key difference from using Google Translate yourself: a culinary-trained AI understands that "Ribollita" is a Tuscan soup and shouldn't be translated literally, or that "Tacos al pastor" is a proper name, not a phrase to translate. The result reads naturally, not robotically.
You can also manually edit any translation at any time — useful when you want a specific wording for a signature dish.
Step 5: Choose a Template and Customize Your Design
Your digital menu should reflect your restaurant's personality. A fine dining restaurant and a taco bar shouldn't have the same design.
Look for a platform that offers:
- Multiple base templates (modern, classic, minimalistic, full-image)
- Color customization — match your brand palette
- Font options
- Logo placement
- The ability to hide or show sections (allergens, descriptions, prices in multiple currencies)
All changes in Restsify are live instantly — you can redesign your menu between lunch and dinner service if you want.
Step 6: Set Up Multi-Currency Pricing (If Relevant)
If you're in a tourist area where guests commonly pay in different currencies — euros and local currency, for example, or USD and local — you can display multiple prices for the same dish simultaneously.
This removes friction for international guests who need to mentally calculate exchange rates, and it reduces questions for your staff.
Step 7: Generate and Print Your QR Code
Once your menu is ready, generate a QR code. A good platform lets you:
- Add your logo in the center of the QR code
- Choose colors that match your brand
- Download a print-ready PDF at high resolution
Where to place your QR code:
- Table tents (most common — 60% of all scans come from table-mounted codes)
- Menu covers
- Window stickers (for takeaway or walk-in guests)
- Business cards
- Instagram bio and Google Business Profile
- Receipt footers
One QR code always points to the same menu. If you update the menu tomorrow, the QR code doesn't change — guests always see the latest version.
Step 8: Track How Guests Use Your Menu
This is where digital menus have a clear advantage over paper — data.
With Restsify's built-in analytics you can see:
- How many guests opened the menu today, this week, this month
- How many are new vs returning visitors
- Which languages guests are using
- Which devices (iPhone, Android, tablet)
- Peak hours and days
This helps you make better decisions: when to run lunch specials, which language to prioritize in your marketing, whether weekend traffic is growing.
All data is stored anonymously inside Restsify for 12 months — no third-party tracking tools needed.
How Long Does It Take to Set Up?
Realistically:
- Register and choose a domain: < 5 minutes
- Set up menu structure and add items: 30-60 minutes
- Upload photos: 20-40 minutes
- Choose template and customize design: 15 minutes
- Generate and download QR code: < 5 minutes
Total: 1–2 hours for a complete, professional digital menu. If you already have a PDF or photo of your current menu, Restsify's AI assistant can import it automatically — cutting setup time to under 30 minutes.
Not comfortable doing it yourself? Send your current menu and the Restsify team will digitize it for you, completely free of charge.
Free vs Paid: What Do You Actually Get?
Restsify offers a permanent free plan — not a trial, a real free tier:
- Up to 25 menu items
- 1 photo per item
- Custom short domain
- Automatic AI translation into 25+ languages
- Unlimited QR scans and views
- No ads on your menu
The free plan is enough for a small cafe or a restaurant that wants to test digital menus before committing. Paid plans (from €9.99/month) unlock more items, more photos per dish, and additional features.
There's also a 15-day free trial of the full Standard plan — no charges until the trial ends.
Common Mistakes to Avoid
Using a PDF as your "digital menu" — A PDF is not a digital menu. It doesn't translate, doesn't update dynamically, doesn't track analytics, and looks bad on mobile screens.
Choosing a platform that puts ads on your menu — This is your brand, not a billboard for competitors.
No photos — Text-only menus convert significantly worse. Even mediocre photos are better than none.
One language only — If you're in a tourist area and your menu is only in the local language, you're losing orders.
Complicated domain — restaurant-name.some-very-long-platform-name.com looks unprofessional and creates a large QR code that's harder to scan.
Ready to Create Your Digital Menu?
A digital menu is no longer a luxury — it's the standard expectation for any restaurant that wants to serve international guests, reduce operational costs, and look professional.
Start for free with Restsify — no credit card required for the free plan. Your menu can be live today.
Have questions about setting up your digital menu? Contact us — we help every new restaurant get started.
Learn how to create a digital QR menu for your restaurant in minutes. Step-by-step guide covering setup, design, translations, and QR code generating — free to start.